Loop Blocks
This feature is available with the Plugin for Business plan and higher.
If you're on the Plugin for Startup or Plugin Expansion plan, consider upgrading to access this feature. For more details, visit our pricing page or contact support.
The Loop Block feature makes it easy to display repeating content in your emails without manually copying the same block over and over. Instead of building a product card, order item, or list entry multiple times, you design it once and let the Loop Block automatically create a copy for every item in your dataset.
Each Loop Block is connected to a Loop Merge Tag, which defines the structure of the repeated items. The definition of each Loop Merge Tag contains a childrenProperties array that lists the fields available for each item, such as title, image, price, or button. These fields then appear in the Loop Block as attributes. Each attribute acts as a placeholder that will later be filled with real data.
When the email is sent, your ESP replaces all Merge Tags with live data from your dataset. For Loop Blocks, it looks at the connected Loop Merge Tag, matches each item’s fields to the block’s attributes, and generates one Loop Block for every item in the dataset.
This makes Loop Blocks especially useful for dynamic, data-driven emails like order summaries or any template where a block of content needs to be repeated automatically.
How to Enable Loop Blocks
To use Loop Blocks in the editor, two requirements must be met:
- All Merge Tags must use the correct syntax (double curly brackets).
- All Loop Merge Tags definitions must include
childrenPropertiesarray.
1. Set the Merge Tag Syntax
Loop Blocks require Merge Tags to use double curly brackets. No other syntax is supported. Enable this by adding the following to your TOPOL_OPTIONS configuration:
smartMergeTags: {
  enabled: true, // or false
  syntax: {
    start: "{{",
    end: "}}"
  }
}
Smart Merge Tag feature is optional in this case. For more information about the smartMergeTags option, see the documentation.
2. Define Loop Merge Tags with Children Properties
Next, define the Loop Merge Tags in the same way you would define regular Merge Tags, but with one key difference: each Loop Merge Tag must include a childrenProperties array. This array describes the structure of its items and defines a unique Merge Tag for each item field. At send time, the Merge Tags defined in childrenProperties are replaced with real data from your dataset, just like regular Merge Tags.
The general structure of all Loop Merge Tags must follow this pattern:
{
  value: string, // For example {{product}} or {{item}}
  text: string,
  label: string,
  defaultValue?: string,
  childrenProperties?: {
    value: string, // For example {{product price}} or {{item property}}
    text: string,
    label: string,
    type?: "image" | "button" | "number" | "text", // Defaults to "text"; defines how the child is rendered
  }[],
}
Example: Products with details
mergeTags: [
  {
    name: "Products Overview",
    items: [
      {
        value: "{{PRODUCT}}",
        text: "Product",
        label: "Product overview",
        childrenProperties: [
          {
            value: "{{PRODUCT_IMAGE}}",
            text: "Image",
            label: "Product image",
            type: "image",
          },
          {
            value: "{{PRODUCT_NAME}}",
            text: "Name",
            label: "Product name",
            type: "text",
          },
          {
            value: '<a href="{{PRODUCT_HOMEPAGE}}">Link to webpage</a>',
            text: "Link",
            label: "Visit product homepage",
            type: "text",
          },
          {
            value: "{{PRODUCT_PRICE}}",
            text: "Price",
            label: "Product price",
            type: "number",
          },
          {
            value: "{{PRODUCT_ACTION}}",
            text: "Button",
            label: "Click here to purchase",
            type: "button",
          },
        ],
      },
    ],
  },
];
How To Use Loop Blocks
1. Insert the Loop Block
Once a Loop Block is properly defined, it becomes available in the Content Blocks panel of the editor.
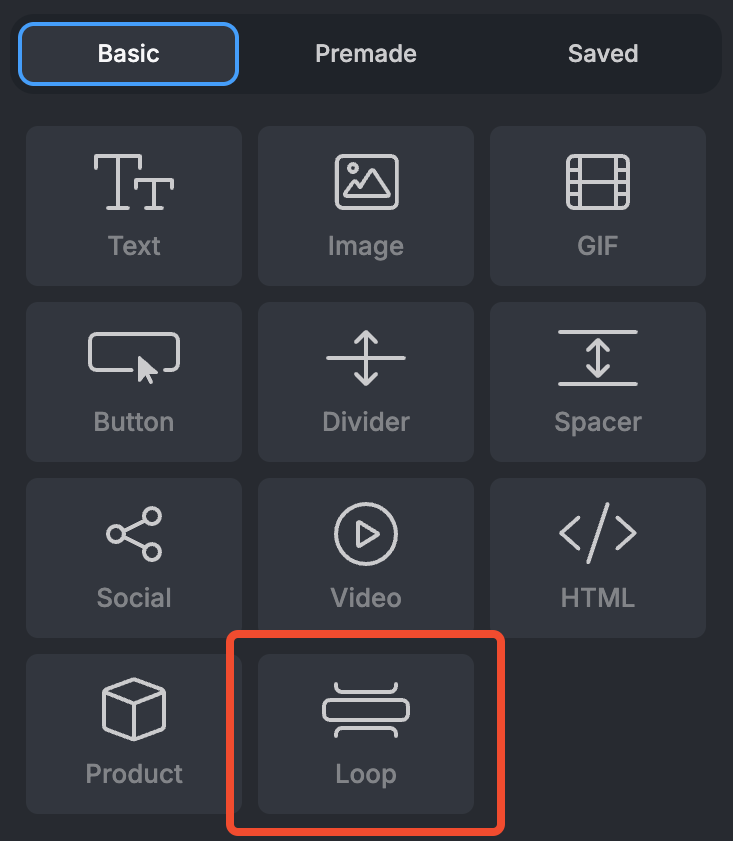
Start by dragging and dropping the Loop Block into your template. You can even add multiple Loop Blocks in one template and each can be linked to a different dataset, which allows you to repeat various types of content in a single email (for example, one Loop Block for ordered products, another for recommended products).
2. Link Loop Block with your dataset
Once the Loop Block is placed, click on it. This will open its settings in the Loop Properties panel on the left side of the editor. Here, you’ll see a dropdown where you can choose the Loop Merge Tag you want to link to this block.
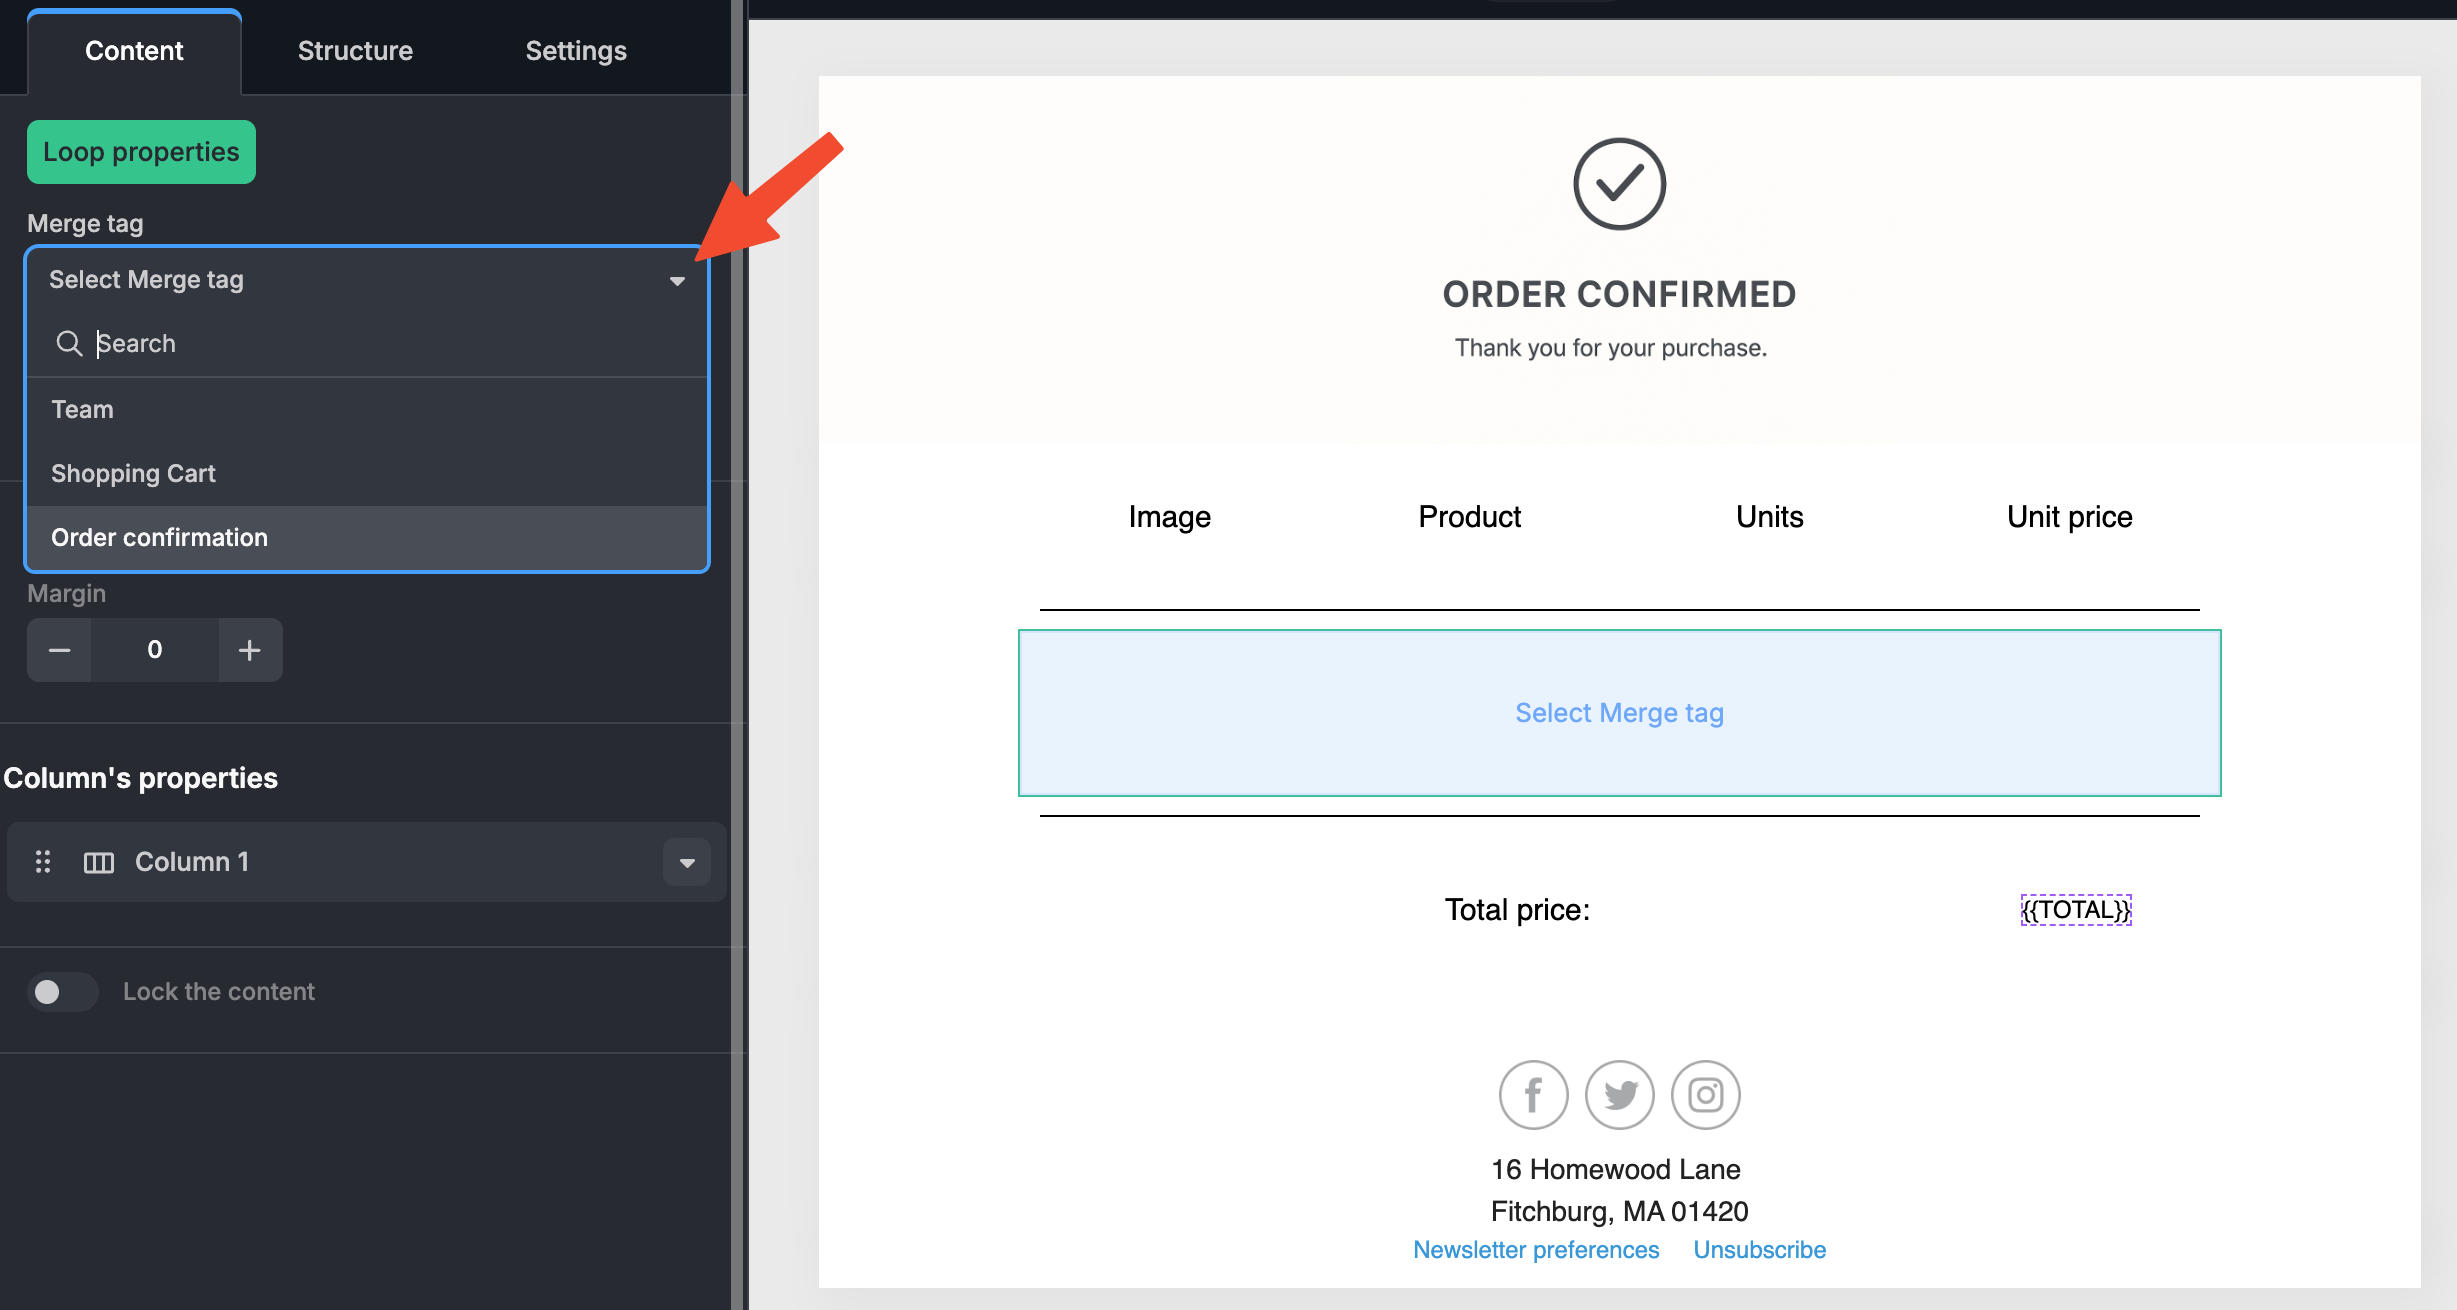
This step is crucial: the selected Loop Merge Tag defines which dataset the block will use, and which fields (defined in childrenProperties) are available for you to work with.
Suppose you want to design an order confirmation email. Your dataset contains the ordered items, and each item includes details like product image, name, quantity, and unit price. You can represent this dataset with a Loop Merge Tag in your mergeTags configuration:
mergeTags: [
  {
    name: "Merge tags", // Group name
    items: [
      // ...other merge tags
      {
        // Loop Merge Tag linking the Loop Block with the dataset
        value: "{{Order_confirmation}}",
        text: "Order confirmation",
        label: "Order confirmation",
        // fields that each item contains
        childrenProperties: [
          {
            value: "{{image}}",
            text: "Image",
            label: "Image",
            type: "image",
          },
          {
            value: "{{product}}",
            text: "Product",
            label: "Product",
            type: "text",
          },
          {
            value: "{{amount}}",
            text: "Amount",
            label: "Amount",
            type: "text",
          },
          {
            value: "{{price}}",
            text: "Price",
            label: "Price",
            type: "text",
          },
        ],
      },
    ],
  },
  {
    // Standard Merge Tag
    value: "{{TOTAL}}",
    text: "Total price",
    label: "Total price",
  },
];
Once you select the Order confirmation Loop Merge Tag from the dropdown, the Loop Block in your template will automatically display the attributes (item fields) defined in childrenProperties.
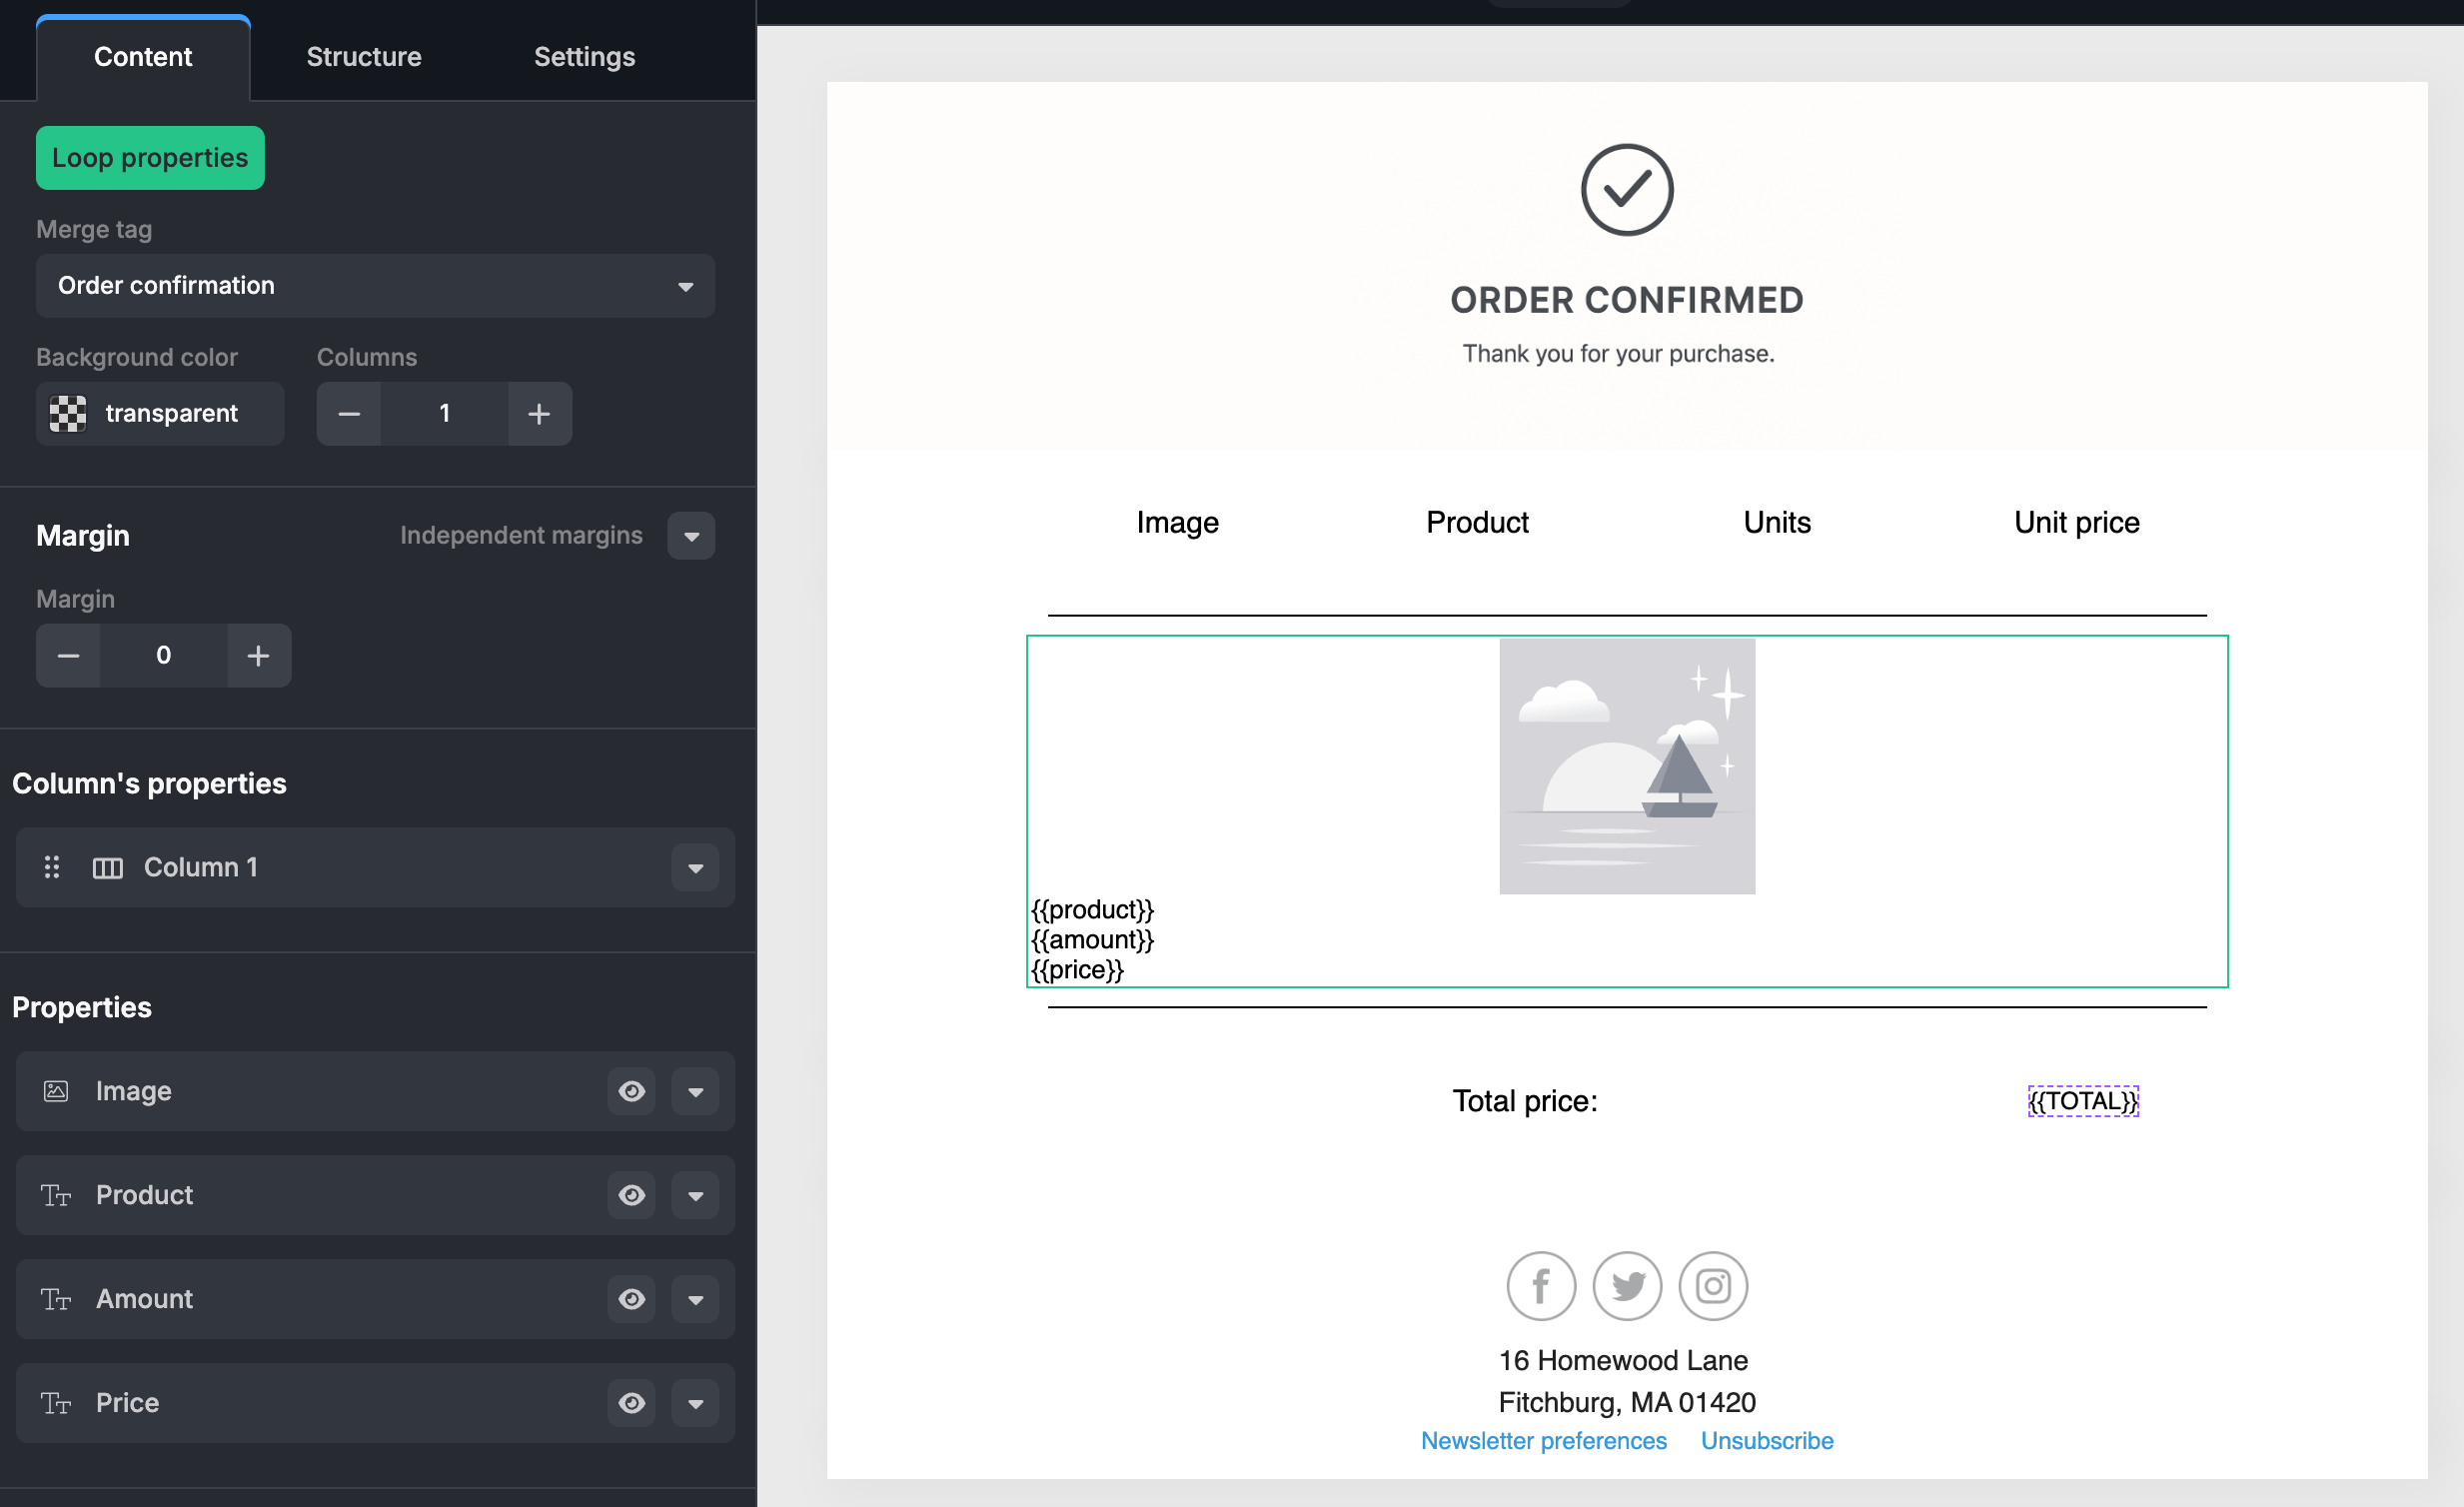
In this example, each item in the dataset represents a product, with four fields: product image, product name, number of units, and unit price.
3. Customize the Loop Block Layout and Appearance
After linking the Loop Block to your dataset, you can configure how it looks and how the item fields are arranged. Adjust the number of columns and drag and drop the available attributes into these columns to control their placement. Each attribute and column can be styled individually in the Loop Properties panel.
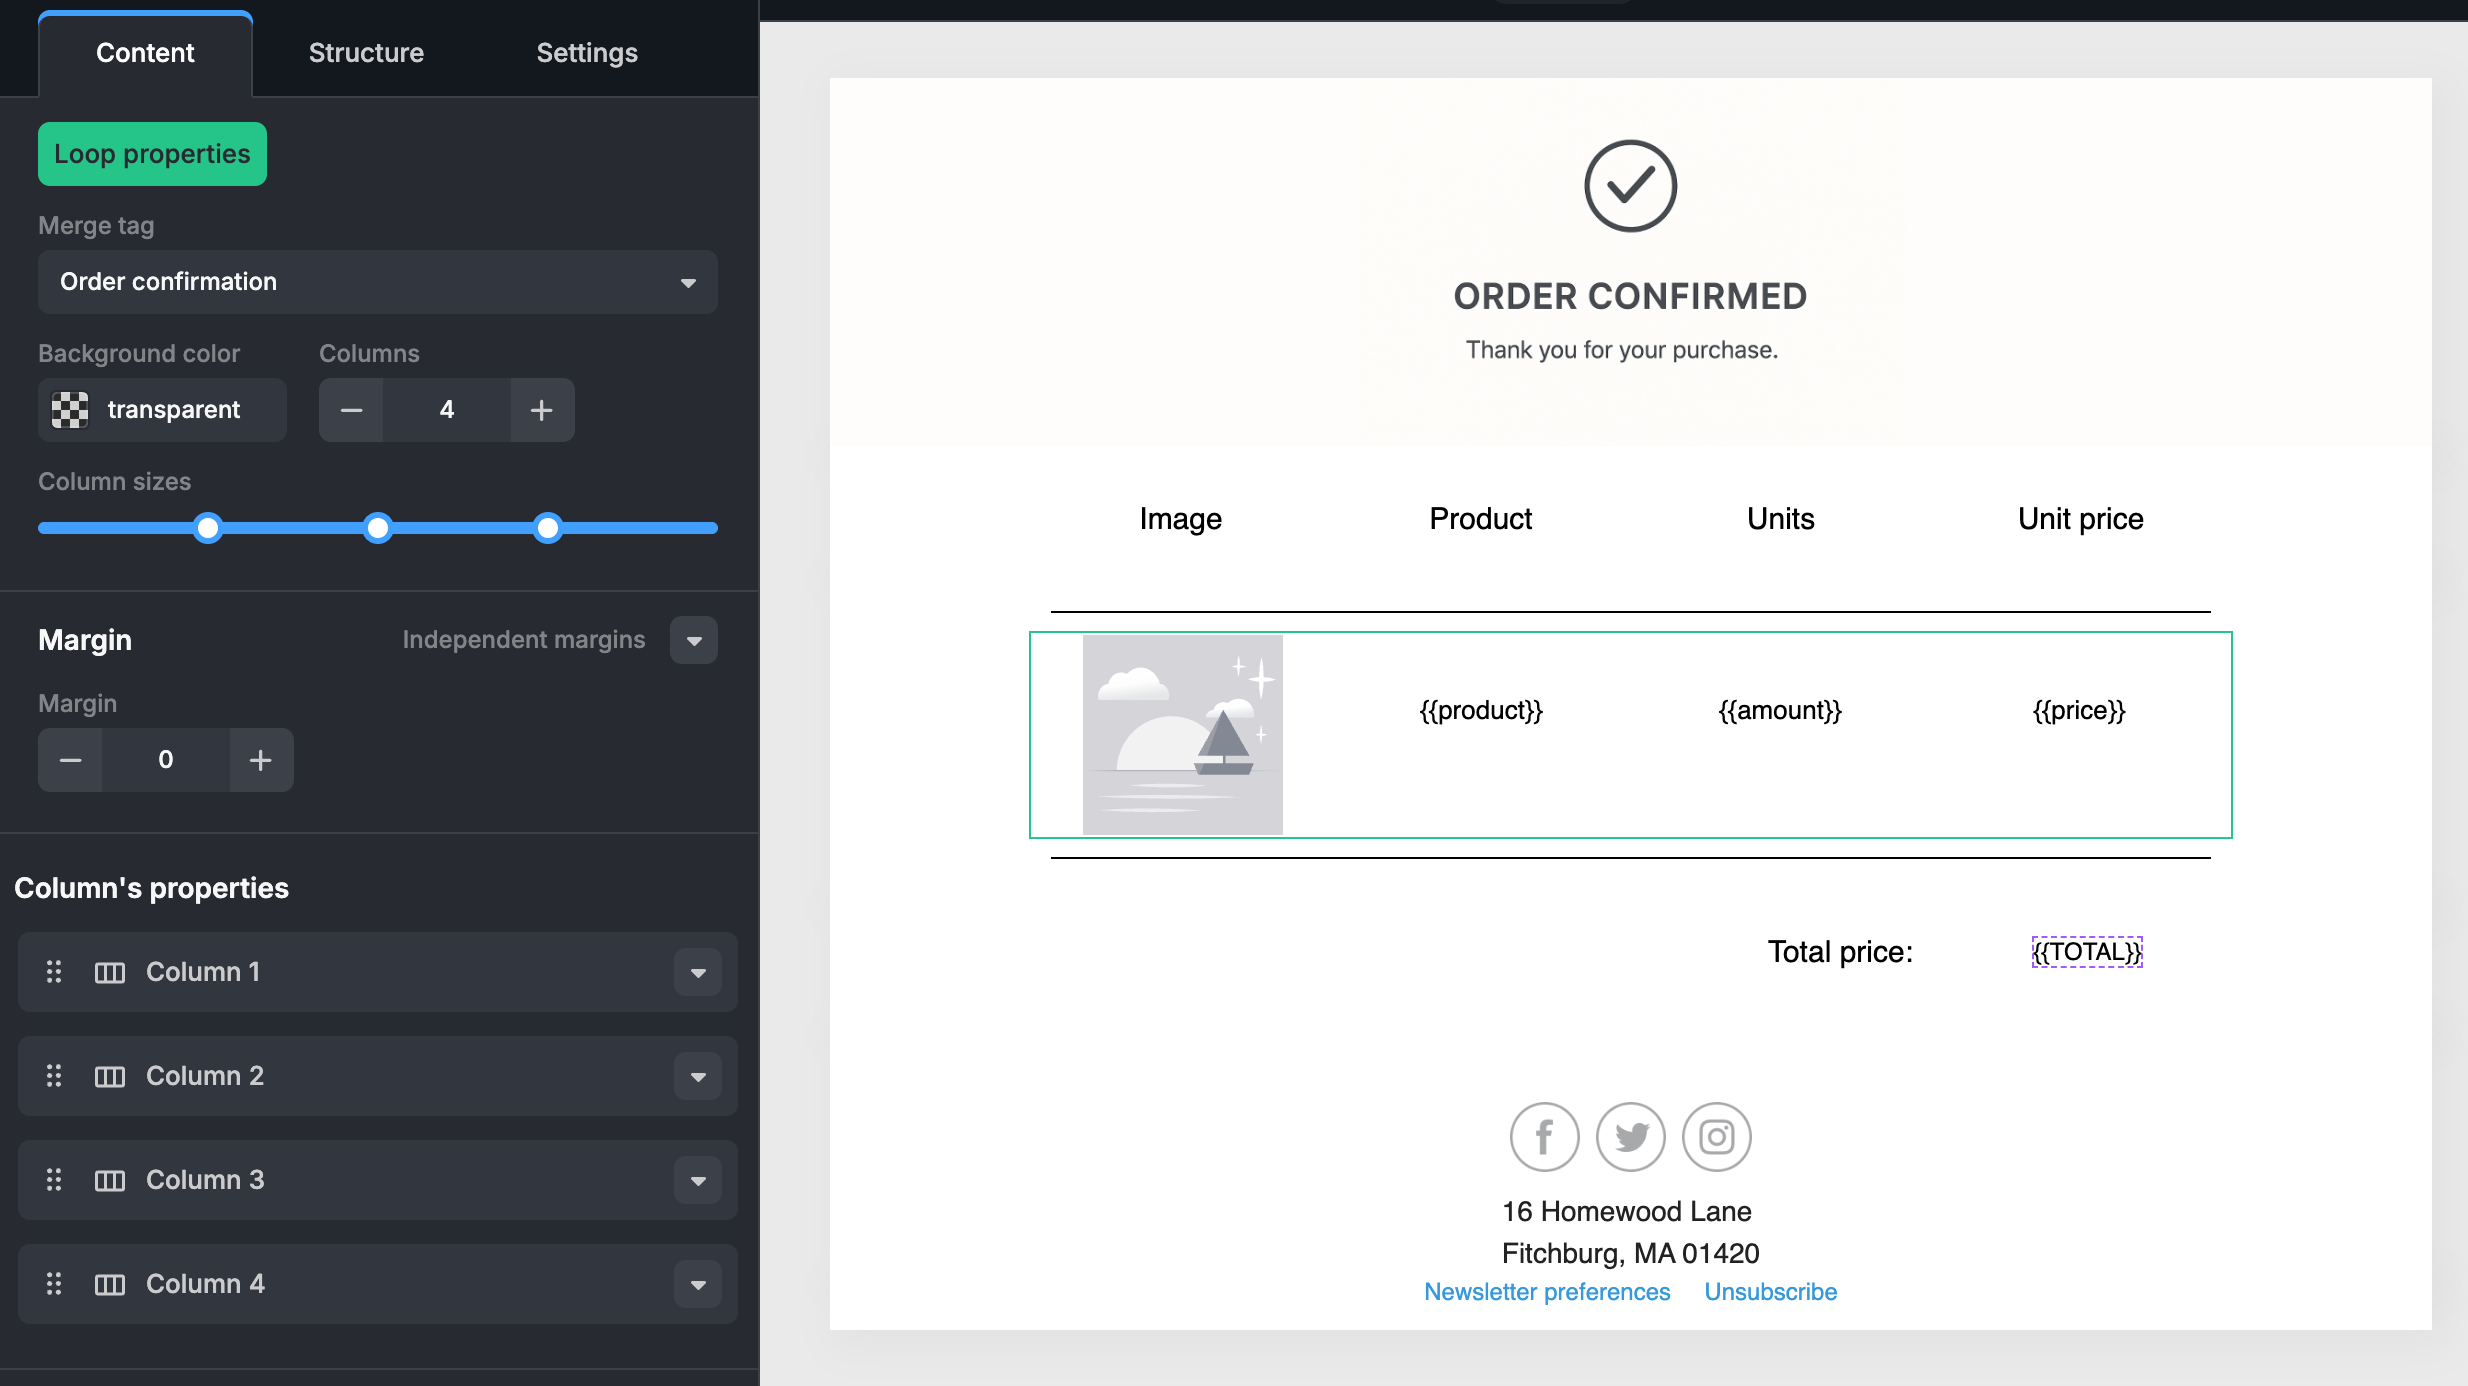
4. Preview with Dummy Data (optional)
To confirm everything works as expected, use Merge Tags – Preview in Preview mode before exporting your email. This feature lets you simulate real data, ensuring your loops render correctly.
In Preview mode, you can:
- Set the number of items: Decide how many dataset items the Loop Merge Tag should include (e.g., 3 products).
- Generate dummy values: Automatically fill each field defined in
childrenPropertieswith placeholder values. These appear in the code editor, where you can also adjust them manually if needed. - See the final design: Preview the template exactly as the recipient will see it, with the Loop Block repeated for every dataset item.
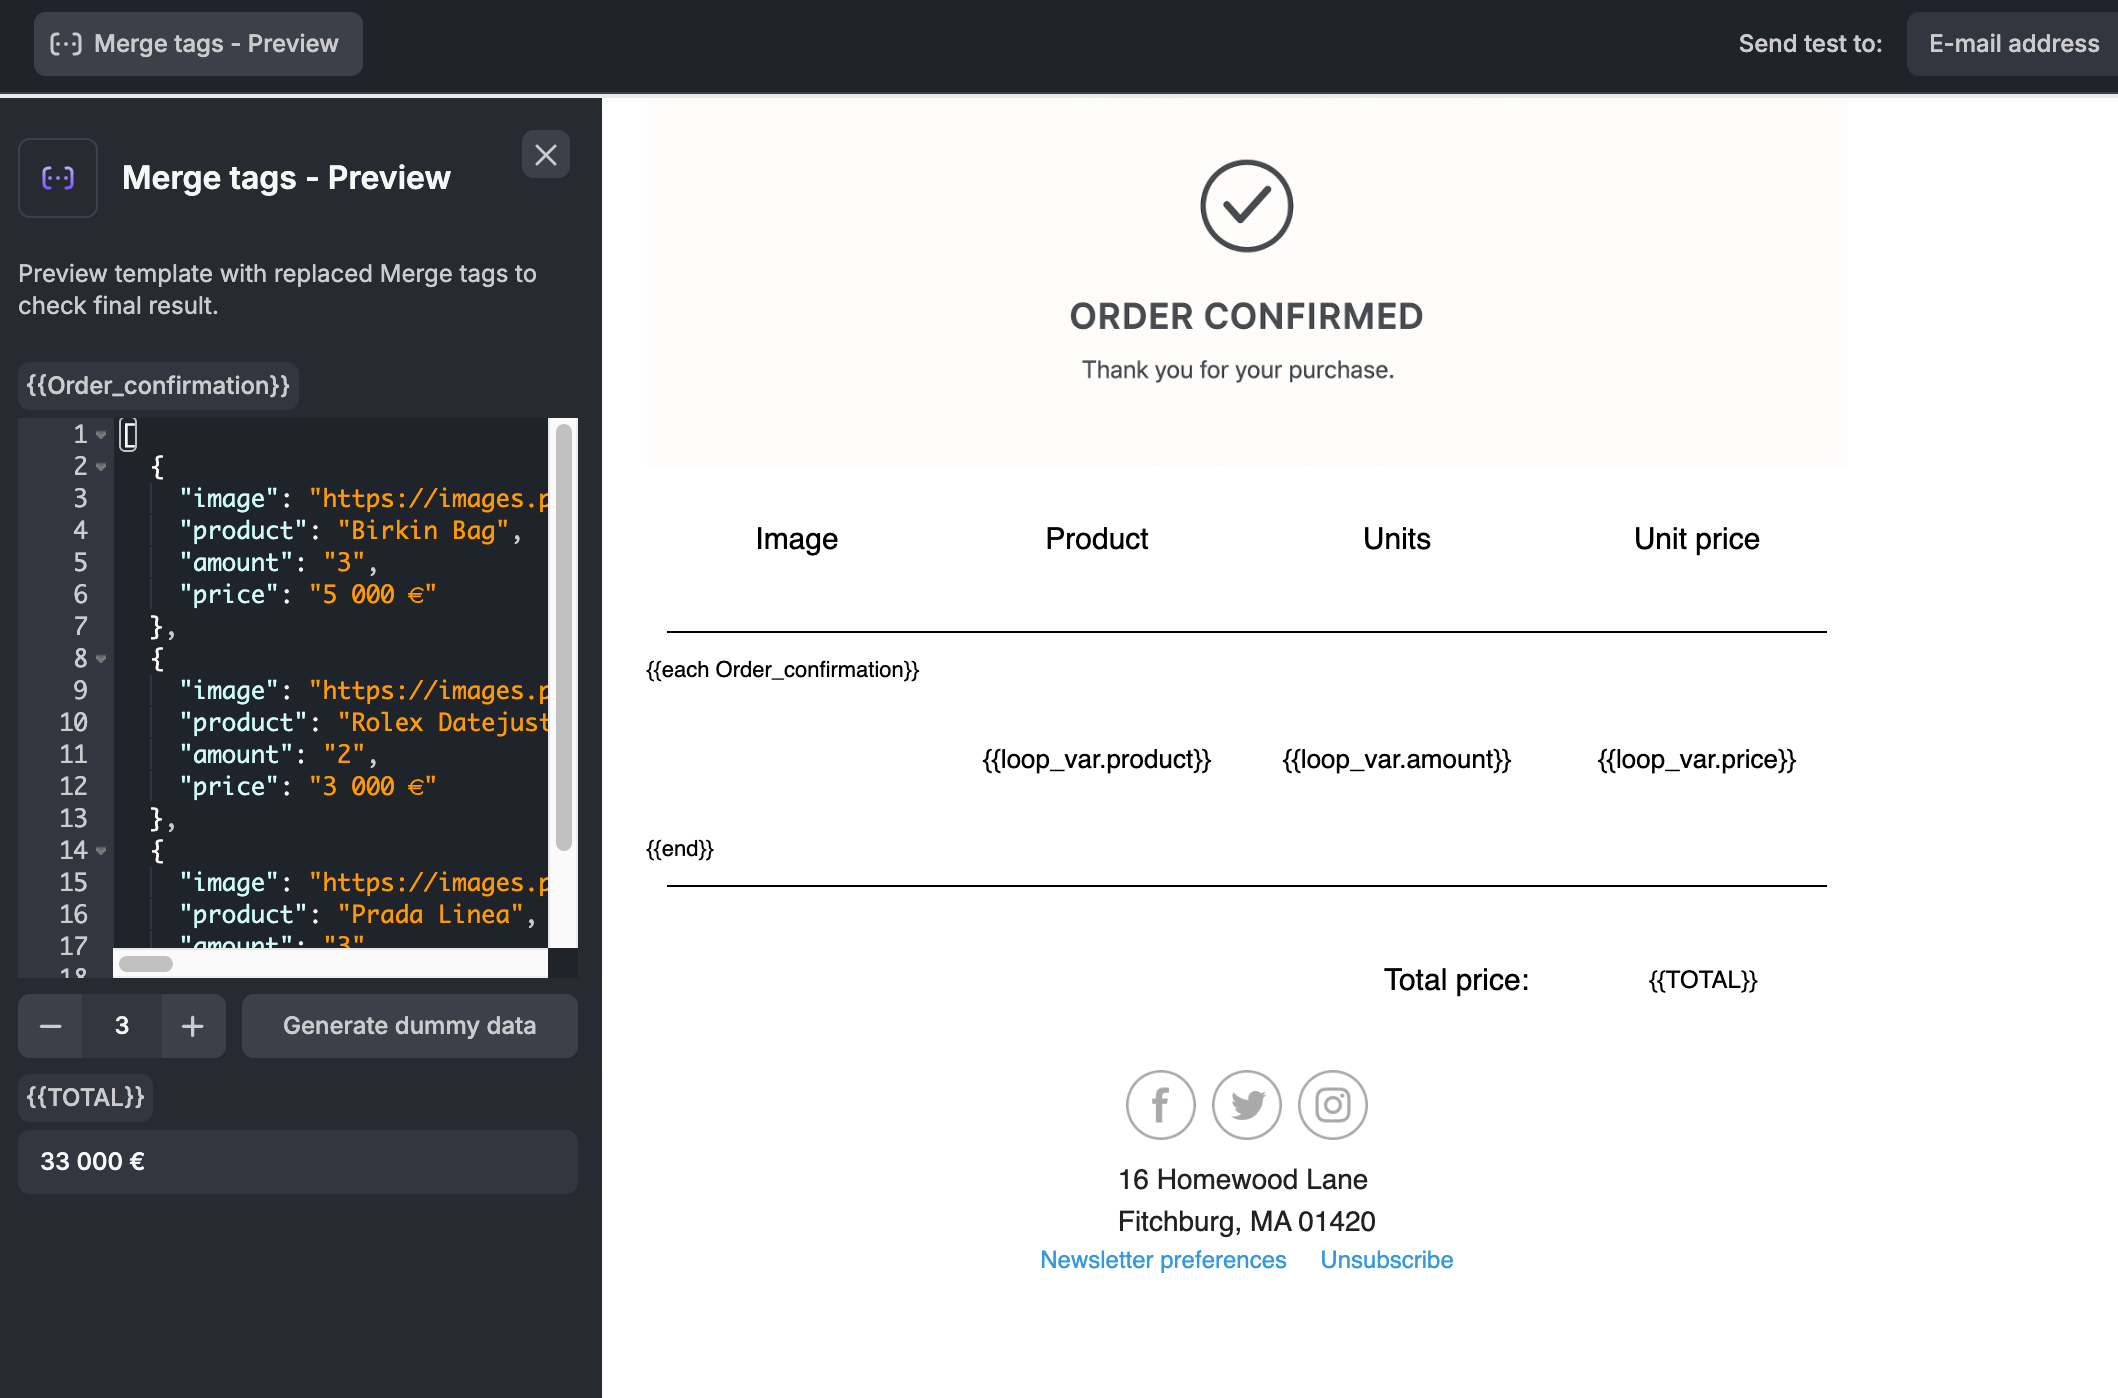
Click Preview with Merge Tags button, and the Loop Block will populate with your example data.
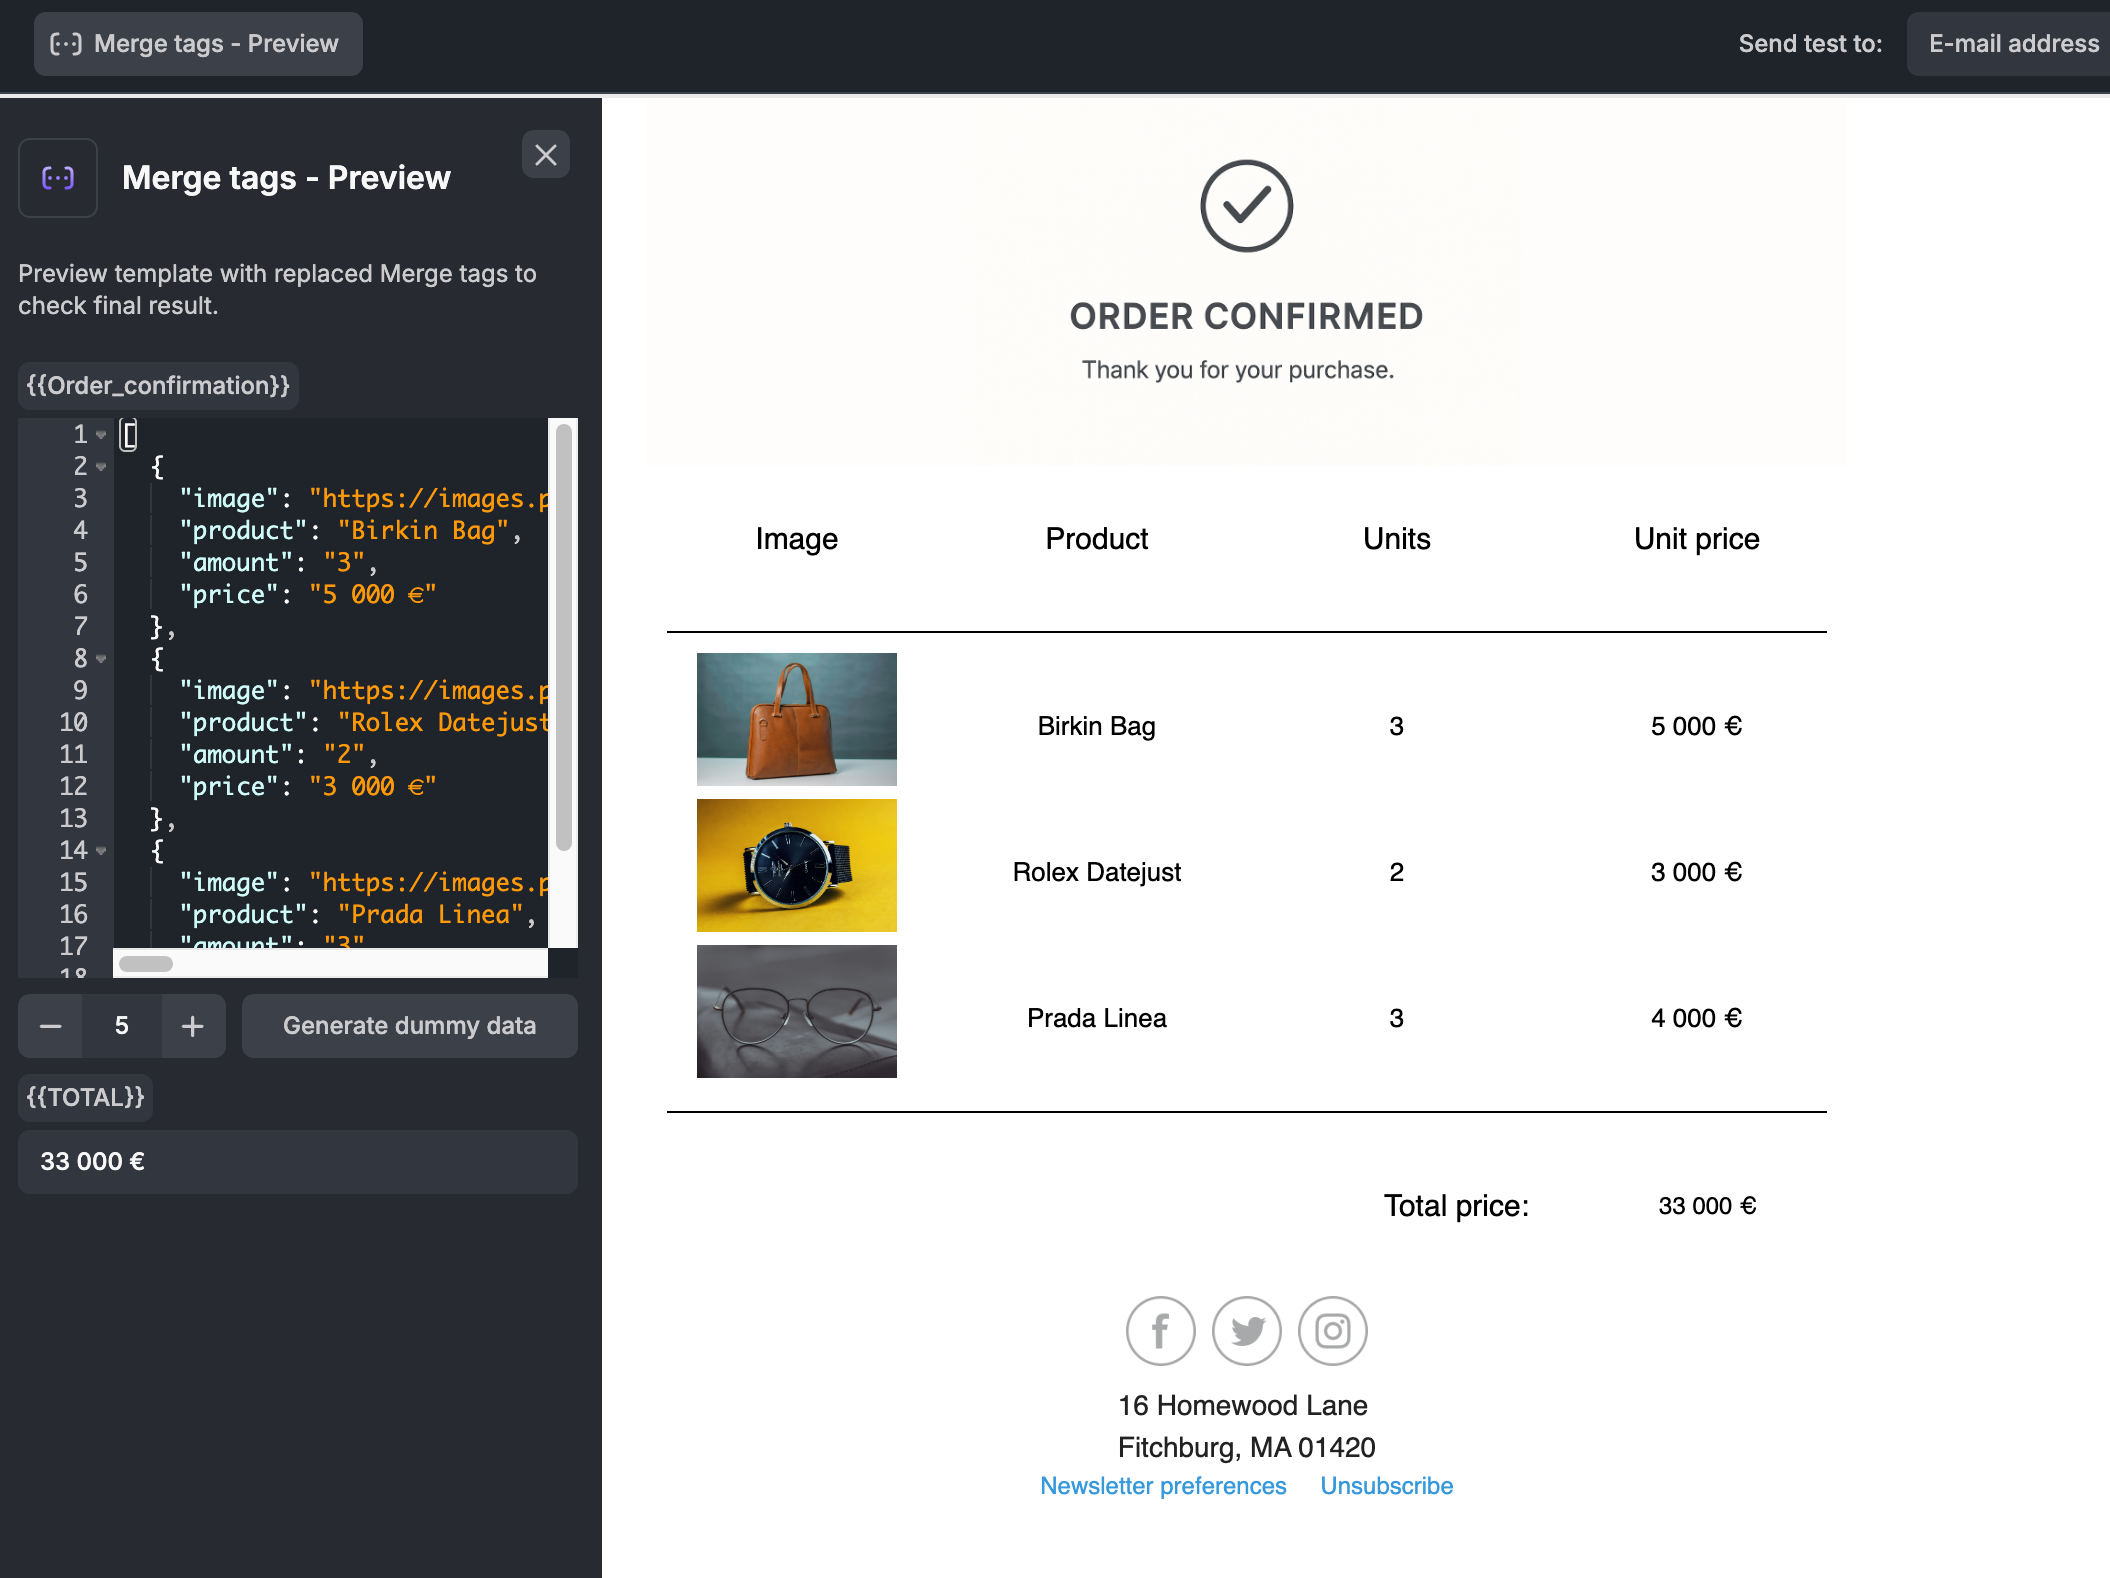
In this example, we defined three items, each with four fields. The Loop Block is repeated three times, and each block is filled with the correct information for its item.
Your template can use both Loop Merge Tags and standard merge tags at the same time. For example, you might want to display order items with a Loop Block and also include a total price or the recipient's first name using a standard Merge Tag. More details are in the next section.
Mixing Standard and Loop Merge Tags
You can mix Loop Merge Tags with standard Merge Tags (Merge Tags without the childrenProperties array) in the same mergeTags definition, as long as they follow the same syntax (double curly brackets).
Key differences:
- Standard Merge Tags cannot be linked to Loop Blocks, but otherwise behave as usual.
- Loop Merge Tags can only be used when linked to Loop Blocks. They are not available in the text editor toolbar and therefore cannot be inserted into template text.
Example: Loop and Standard Merge Tags Defined Together
mergeTags: [
  {
    name: "Merge tags",
    items: [
      // Loop Block Merge Tag visible only to Loop Blocks
      {
        value: "{{ITEMS}}",
        text: "Items",
        label: "My items",
        childrenProperties: [
          {
            value: "{{description}}",
            text: "Description",
            label: "Item description",
            type: "text",
          },
          {
            value: "{{url}}",
            text: "Button with URL",
            label: "Button to visit eshop",
            type: "button",
          },
        ],
      },

      // Standard Merge Tags invisible to Loop Blocks
      {
        value: "{{FIRST_NAME}}", // Follows the Loop Merge Tags syntax
        text: "First name",
        label: "Customer's first name",
      },
      {
        value: "{{LAST_NAME}}",
        text: "Last name",
        label: "Customer's last name",
      },
    ],
  },
];