

Appearance

Getting Started with Topol Plugin
Embedding Topol Plugin takes two steps: create an API token, then add a container element and a short script to your page. Everything else is optional and can be layered on later.
Using React, Vue, or another framework?
Step 1 applies to every integration. Step 2 does not; follow NPM & Frameworks instead.
Step 1: Create your API token
Log into your Topol Account, open the API Tokens tab and click + New API Token. The page that opens creates the token that authorizes the Topol Plugin in your application.
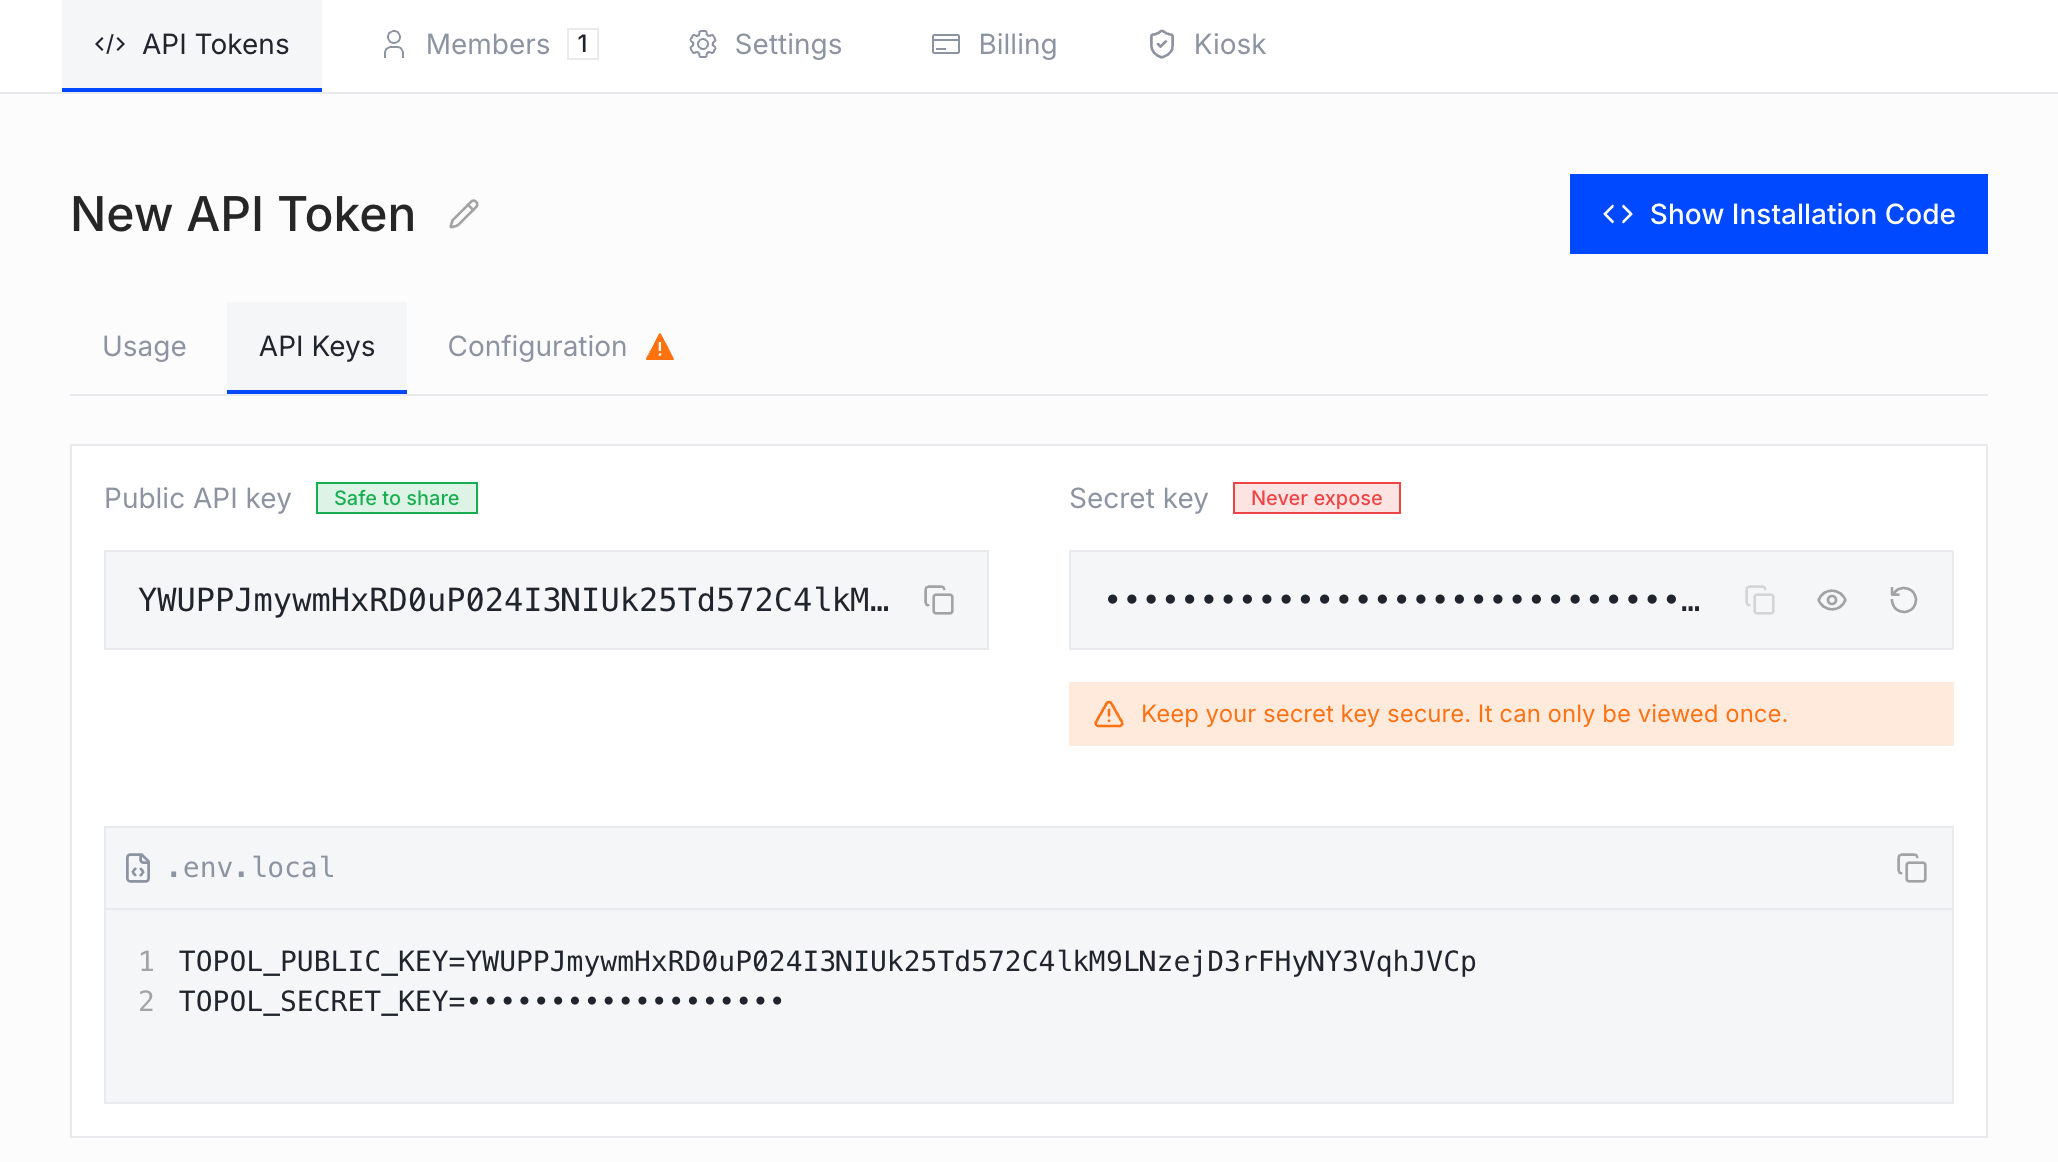
The token comes with two keys, shown in the API Keys tab: the Public API key goes into the Plugin configuration in your page, and the Secret key authorizes direct calls to the Topol API and must never be exposed in client-side code.
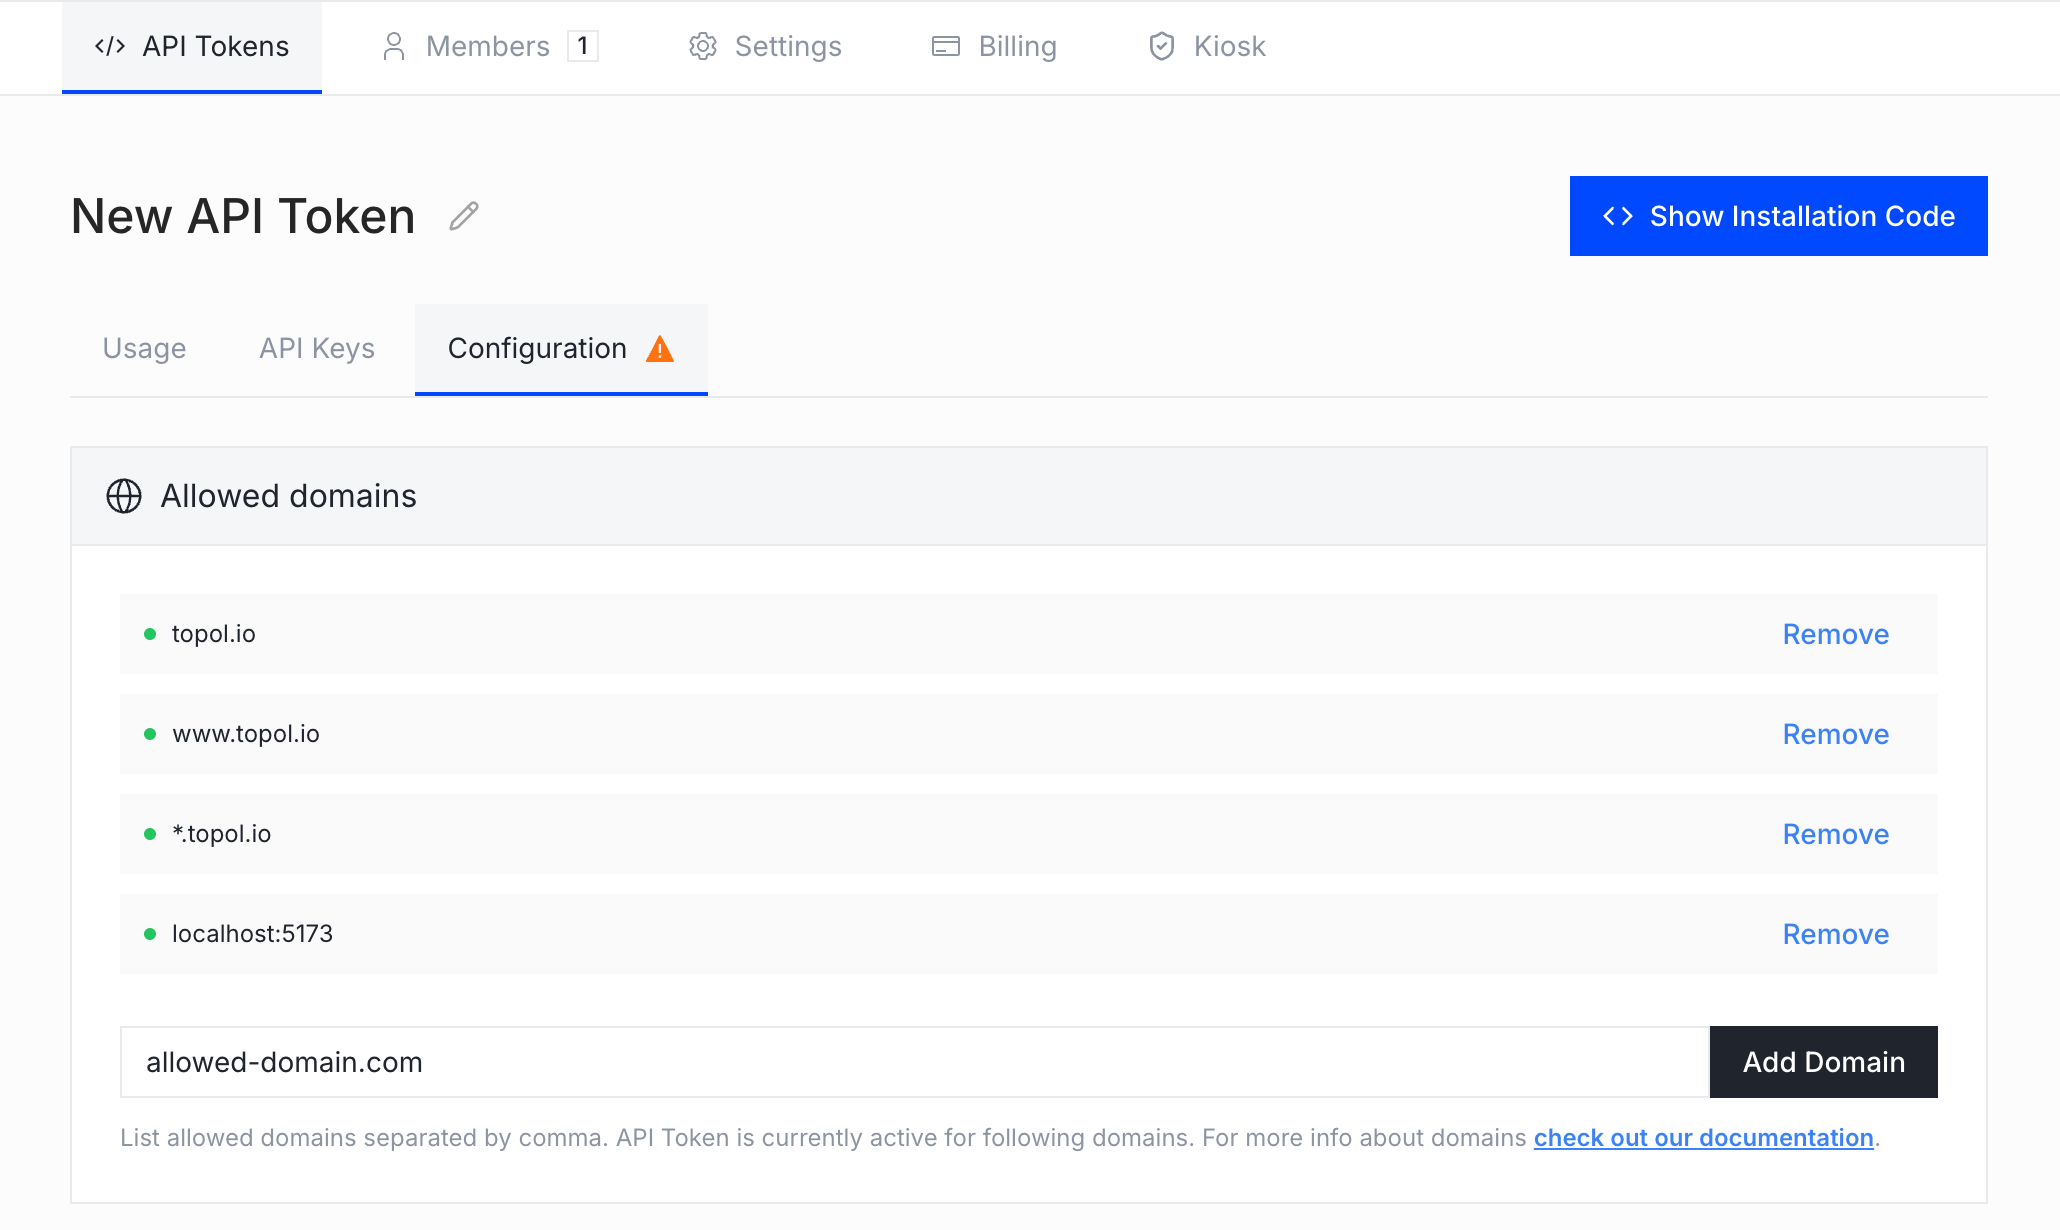
With the token created, switch to the Configuration tab and add every domain where the Plugin will run to the Allowed domains list.
WARNING
The token only works on the domains listed in its configuration.
Step 2: Add the Plugin to your application
With the API key ready, the Plugin goes into your page in two pieces: a container element and a script that configures and starts the editor. (In a framework app, the NPM packages replace this setup.)
Let an AI agent do the wiring
TOPOL-io/skills has two skills for coding agents, written as plain markdown. topol-editor-integration sets up either editor in a new project and topol-v1-upgrade moves an existing NPM integration from 0.x to v1. They install as a Claude Code plugin (/plugin marketplace add TOPOL-io/skills) or into any agent with npx skills@latest add TOPOL-io/skills.
First, add this HTML where you want the editor to appear. The container needs an explicit width and height, otherwise the editor has no space to render:
html
<!-- This is the container where the Topol Plugin will load -->
<div id="app" style="position: absolute; width: 100%; height: 100%;"></div>
Next, load the Plugin script and initialize it:
html
<!-- Load the Topol Plugin script -->
<script
  src="https://v3.email-assets.topol.io/loader/build.js"
  type="text/javascript"
></script>

<!-- Configure and initialize the Topol Plugin -->
<script>
  const TOPOL_OPTIONS = {
    id: "#app", // The div where the editor will appear
    authorize: {
      apiKey: "YOUR_API_KEY", // Replace with your Public API key from step 1
      userId: "UserID", // Any unique ID you assign for the user
    },
    callbacks: {
      onSave: function (json, html) {
        // This function runs when the user saves
        // You can handle the JSON and HTML data here (e.g., save to your server)
      },
    },
  };

  // Start the Topol Plugin with these settings
  TopolPlugin.init(TOPOL_OPTIONS);

  // Optional: Load a template into the editor on start
  fetch("https://tlapi.github.io/topol-editor/templates/1.json")
    .then((response) => response.text())
    .then((template) => {
      TopolPlugin.load(template);
    });
</script>
Important notes:
- The
apiKeyis the Public API key from Step 1. - The
userIdcan be any unique string that identifies your user (letters, numbers, _ or -). It determines where that user's images are stored and counts as one unique user for monthly billing. Typically, oneuserIdcorresponds to one client of your app, CRM, ESP, etc. Reusing a singleuserIdacross several people counts them as one user and gives them a shared image library. - The example also loads a sample template from a URL. Replace it with your own template, or drop that optional block to start the editor empty.
INFO
Running into trouble while implementing the Topol Plugin? Contact our support team here and we'll help you get it working.